When living in an off-grid cabin, accessing an oil stove could be difficult and expensive too. As creatives, we need to tap into the environment around us and find an inexpensive and accessible fire source to prepare our meals. While there are so many ways to go about that, using affordable materials and putting your hands to work is the easiest and safest way.
If you want to save cost and build a wood stove you can trust. Let me show you how I built my propane tank wood stove from scratch. From design to execution every step is recorded.

What is a Propane Tank
Propane tanks are steel containers used to store propane under pressure in its liquid form and allows for a reduction in its pressure by passing through a regulator that releases it in gas form. These tanks are also called LPG Gas Cylinders or Propane Gas Bottles.
Selecting the Right Propane Tank for Wood Stove Project
- Where do you intend to use it? The specific type of wood stove you make out of your tank will often depend on what is appropriate for the place of use. What propane tank will be most suitable?
- Size. The propane tank should be large enough to heat the area intended for, but no more. With wood stoves, smaller is better. Oversized stoves tend to cause overheating.
- What material is the tank made of? Your propane tank should be made of heat-tolerant material, preferably steel.
- Using a wood stove is labor-intensive.
Design considerations of the Propane Tank Wood Stove
Your wood stove design could be based on stylistic preferences or modified to meet particular needs. Attaching a steel plate to your wood stove, for instance, is quite useful if you intend to cook with it but is not always necessary.
If you are using your wood stove in an RV, the chimney pipe should be longer than typical. It should be insulated to reduce the intensity of the heat going up and out the roof. Without this, the heat going up could damage whatever is on the roof and may even set the vehicle on fire. If you value the aesthetics of your woodstove just as much as you value its function, here a couple of designs to consider before converting a propane tank to a woodstove:
- Rocket stove
- compact wood burning stove
- Upcycled propane tank
- Hot water tank woodstove
- Rocket stove mass heater
- Pot belly stove
Required Parts and Tools for Converting Propane Tank into a Wood Stove
To convert an old propane tank into a homemade woodstove, you’d need certain tools to bring this project to fruition. Below are a couple of important parts and tools needed;
- Heavy duty hinges
- Heavy duty latch
- Steel paint
- Propane tank
- Metal pipe
- Grate
- Steel sheet
- Angle grinder with a cut-off wheel
- Welder
- Hole saw and power drill
Step by Step Guide to Convert a Propane Tank into Wood Stove
Without further ado, here are important steps to follow in successfully converting your propane tank into a wood stove;
Step 1: Empty the Tank
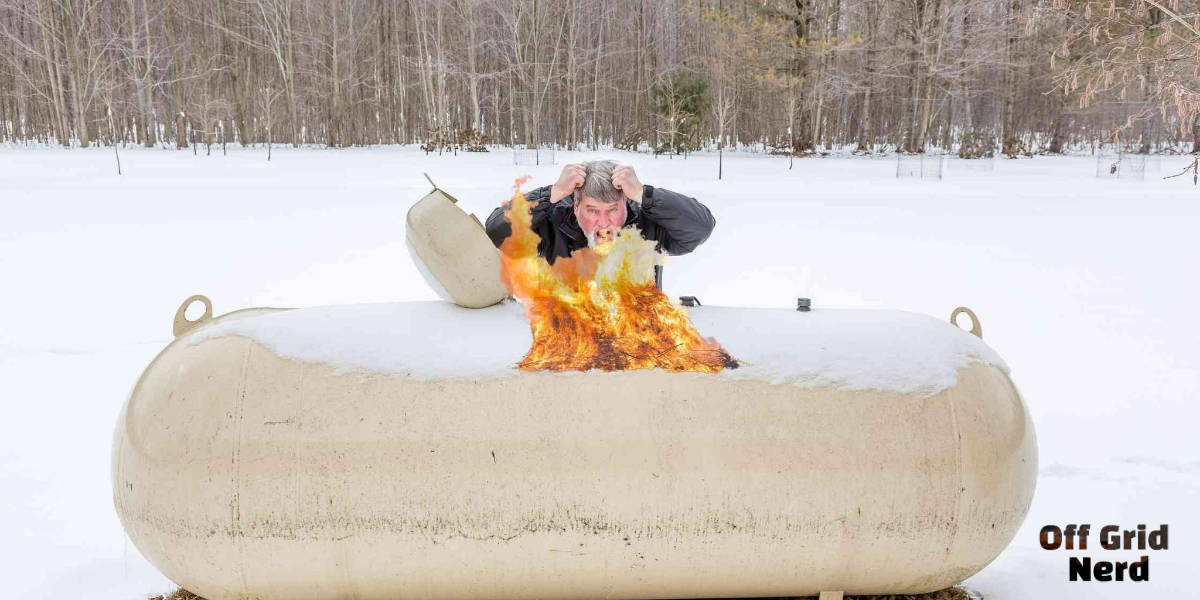
Make sure the propane tank is empty before cutting or welding anything. Failure to do so might result in an explosion if there is still some gas left inside. . Leftover propane has resulted in 14% of gas grill fire in the US. Fill the tank with (soapy) water and rinse to clear the gas.
Step 2: Cut Off the Handle and Valve
Use the angle grinder’s cutting wheel to remove the valve and handles from the top of the propane tank.
Step 3: Cut out the Front Door
Cut a square or rectangular hole into the side of the tank. The hole should be wide enough to accommodate the wood you’ll be using in the stove. File the edges of the hole and the plate you cut out. This is to make the edges too dull to cut you when you use the stove.
Step 4: Attach the Lid
Next, reattach the plate you’ve just cut out. Weld it back to the propane tank using two hinges on one end of the plate. Once this is done, weld a fence gate latch to the other end of the tank and plate. This lid will act as your front door.
Step 5: Attach the Top Plate
This is useful if you want a small surface to heat things on. Weld the steel sheet over the top of the propane tank. Ensure there’s enough room on top of the tank to attach a chimney pipe.
Step 6: Drill a Chimney Hole
Attach a hole saw of the appropriate size to the power drill. Use the hole saw to bore a round hole into the top of the tank. This should be proportional to the size of the metal pipe. Hole saws are preferred because they make cutting holes into the tank super easy. If one is unavailable, a cutting wheel could be used instead.
Step 7: Attach the Chimney Pipe
Place the metal pipe over the hole you have just cut out. Weld around it until it is firmly in place. For the best experience, use flue pipes. Avoid pellet pipes, which can cause foul chemical smells and melt their zinc coating at temperatures beyond 570 degrees.
Step 8: Insert Grate
Cut the grate to size and insert it into the stove. This is to hold the wood fed into the stove while allowing the ashes to settle at the bottom.
Step 9: Paint the Wood Stove
Once everything is done, it’s time to finish up. Use a high-temperature paint to give your new wood stove a new color and appeal.
Best Woods for Using in the Stove
When it comes to wood stoves, hardwood is the best wood. Hardwoods burn hotter, slower, longer, and cleaner than softwood. They also don’t coat the chimney with creosote (a fire hazard) as fast. The hardwood, ideally, should be seasoned for at least six months to a year before use. Oak is arguably the best hardwood, but it takes very long to season.
Ash and Maple are both great wood choices for people living off-grid. Maple, for its ubiquity; Ash, because it burns well even when green. Ash burns efficiently on its own and does not need to be mixed with other woods. Properly seasoned, Maple produces hot and steady fires in wood stoves.
Campers and RV owners might find Cherry a rather exciting option. The hardwood’s pleasant aroma and slow-burn make it perfect for use inside these vehicles. Its bark strips can also be used as natural firelighters.
Cedar or Douglas fir softwoods are reasonable alternatives only when hardwoods are unavailable.
Precautions while Using the DIY Stove
To prevent life threatening hazards, there are certain precautions to heed to. Below are major precautions to follow while using the DIY stove;
- Don’t use gasoline or other flammable liquid to start a wood stove fire.
- Don’t connect your wood stove to any chimney used by a different appliance burning other fuels. Although there has been a reduction in chimney fires in the UK from 18,000 in 1998 to less than 8,000 in 2014.
- Avoid burning chemically treated paper, which may release more toxins.
- Do not burn trash in the woodstove.
- Clean the creosote build-up as often as is needed to reduce the risk of fires.
- Never use a wood stove without proper clearance.
- Avoid letting a wood stove fire burn unattended or overnight.
- Never use logs made of compressed sawdust or wax meant for fireplaces.
Common Questions and Answers about the Propane Tank Wood Stove
Working on this project requires precision and strict adherence to the above-listed precautions to prevent an explosion. Remember, following the steps is the only way to successfully make your propane tank wood stove without any forms of hazard or wasted materials. Also, try to have fun while at it.